Heartfelt pottery creations – that is my basis.
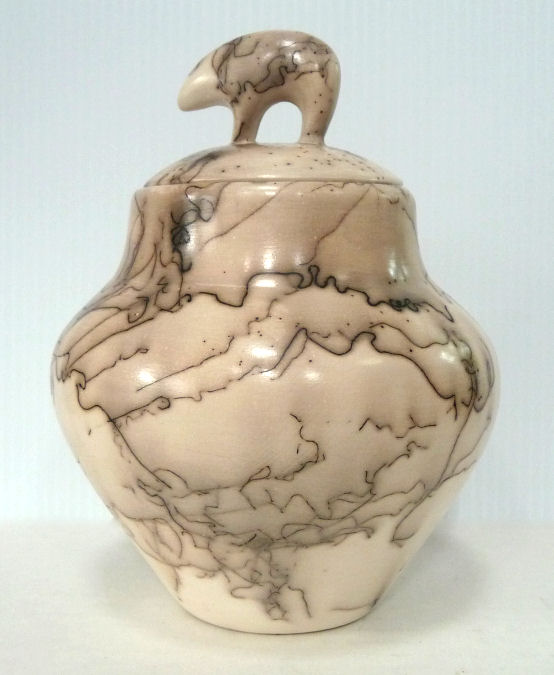
After a recent class at the Clayscapes Pottery studio that focused on Alternative Firing methods I was keen on doing some more Raku, specifically Horsehair pieces.
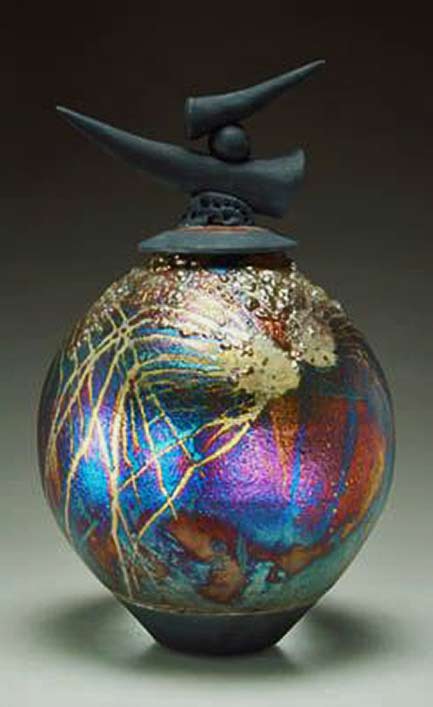
In the process of getting ready to do my own Raku (a service provided by Clayscapes Pottery) I realized my advancement in Raku pottery research actually expanded to more appreciation for glaze recipes as I noted the ‘Copper Matte‘ options (see below):
Here is a run down of my pre-raku items of note:
- Clay forms:
- No thin necks (hard to grasp with the tongs)
- No tall slender objects (may fall over easily in the ‘reduction’ phase)
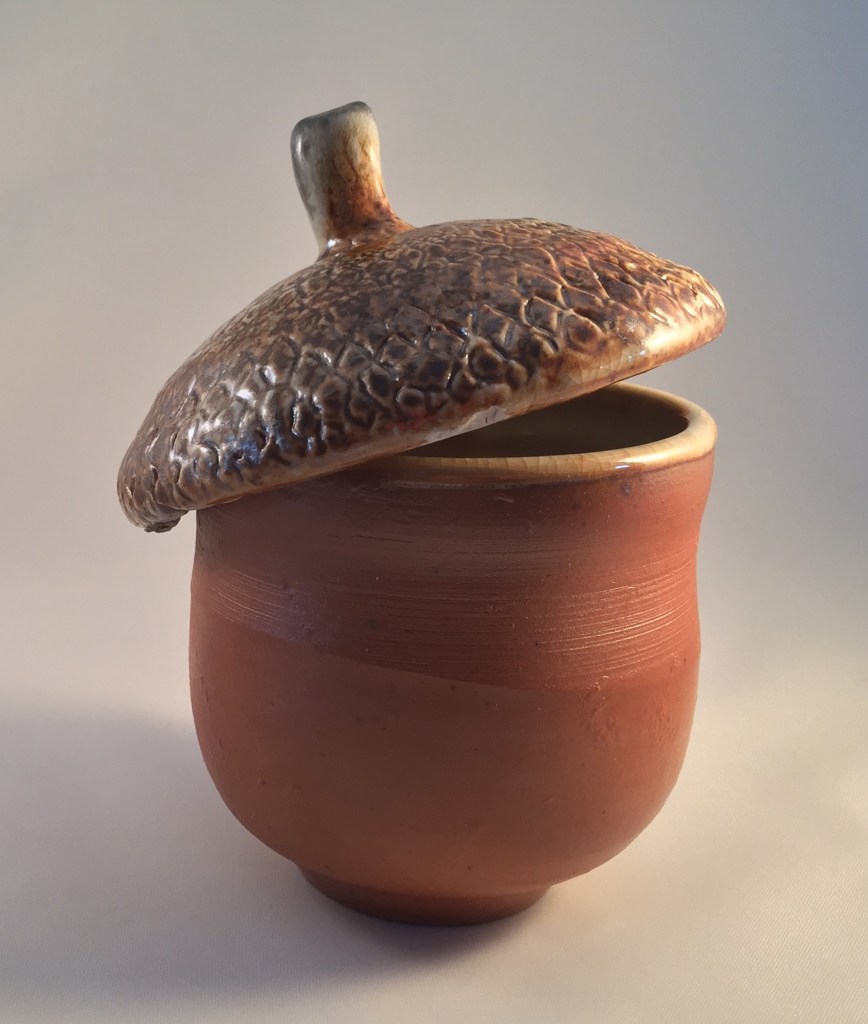
- Lids are fired in the kiln separately so this takes up space on the kiln shelf. Note: Andrew from Clayscapes Pottery says he has a method of firing lids so they don’t crack on the shelf – I’ll keep you updated with this helpful hint
- Burnishing is fun and meditative (on greenware) & is necessary if applying Terra Sig (for Horsehair prep)
- Terra Sig Info (courtesy of http://www.pitfire.com/saggar_firing_2.htm#How%20do%20I%20make%20Terra%20Sigillata)
- How do I make Terra Sigillata?
- In a 5 gal. bucket put 3 gallons (or roughly 28 pints/28 lbs) of water.
- Add 14 lbs. dry clay. Ball Clays works well for white base, RedArt for red.
- Add enough sodium silicate, soda ash, Darvan 7, or Calgon to deflocculate (a few tablespoons).
- Allow to settle. Overnight is average.
- Less plastic red clays such as RedArt or fire clay may require only 6-8 hours, while very plastic clays like XX Sagger or OM4 ball may take up to 48 hours.Terra sig is best when the specific gravity if about 1.14. Useful range is 1.1-1.5. Specific gravity is measured by weighting out 100 gms of water, marking the volume, and weighing the same volume of the sig. Divide the weight of the sig by 100. If too thin evaporate. If too thick allow to settle longer.
Apply sig to bone dry greenware making careful not to make too many drips, and buff or Burnish to a nice shine.
- Use “patinas” of 1 gerstley borate + 1 colorant as a thin wash over bisqued sigs, applied and rubbed off. Works well on textured areas.
Here are some color suggestions added to 1 cup liquid sig:
white = + 1 tsp. Zircopax or tin.
off white = + 1 tsp. titanium diox.
green = + tsp. chrome oxide
blue = + tsp. cobalt carb.
black = + 1 tsp. black stain
purple = + 1 tsp. crocus martis
- How do I make Terra Sigillata?
- Terra Sig Recipe (courtesy of http://mauipotter.com/article_pit_firing.html)
- Recipe
- 115 grams Red Art Clay (powder) or Grolleg White Clay
- 2 cups water
- one drop defocculant (darvon or calgon)
- *optional we added a small amount of red iron oxide to each recipe for color
- Recipe
- Bisque Fire
- Horsehair or Glaze
- Horsehair – thicker hair is better. Good to have a friend with horses. Being grateful for this helps add another dimension of “Heartfelt Pottery”.
- Glaze
- Glazing the inside – Question: is this feasible? If so, is this solely to help retain liquids? Otherwise I’d think I won’t use interior glaze as the Raku technique produces a porous piece (i.e. not ‘functional’). Most of the pieces I am looking to create are to serve as a storage container for things that don’t need air-tightness or fluid retention. Talking about this with a potential customer is a must!
- Copper Matte – ooooh nice, and then sealing
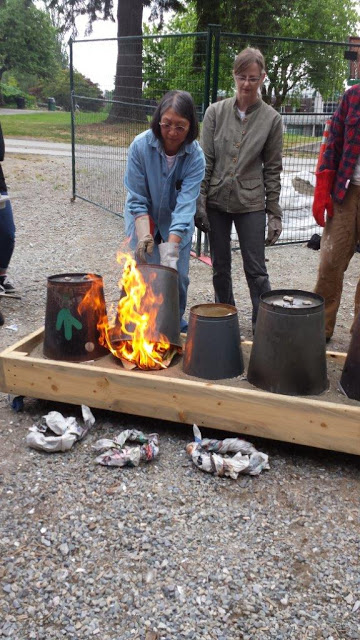
- Raku Kiln Firing
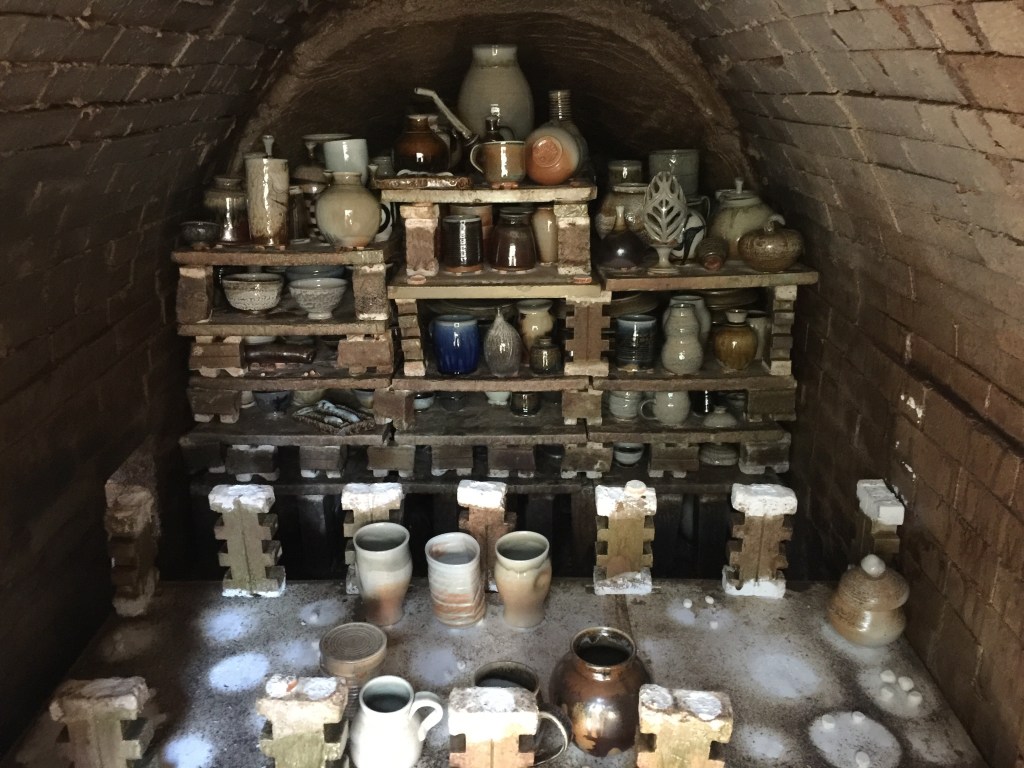
- Making an adequate number of pieces is important to me – I don’t want to create too little and waste time at the kiln or my money spent renting the kiln firing. I guess making too much isn’t a bad thing as I could always do another firing!
- The kiln shelf is 18″ (254.5 square inches), so 1/4 area of the shelf is 9″ x 9″ x ?? – however I think I could fit 2 max 5″ wide pieces w/their lids, in each 1/4 panel area without overcrowding (and without making the maneuvering with the tongs a challenge). The total for the shelf would then be 4 lidded piece + 1 piece without a lid place in the center, for a total of 5 pieces per load. And since the minimum # of load is 2 per firing, then we’re looking at a max of 10.
- One way to find out is draw or print out an 18″ circle.

- Working with the Raku Kiln firing facilitator about the choreography of us ‘dancing’ around & doing steps so we don’t bump into each other or let a pot not get the horsehair or reduction treatment in a timely temperature fashion.
- Equipment:
- Heat-resistant gloves
- Scrub Brush to clean pieces after the firing
- Clothes: Long sleeved shirt, closed-toe footwear, no polyester clothing
- Horsehair
- Tongs
- Pan with Sand – to lay horsehair down and roll the piece (if desired)
- Regular Raku
- Combustibles? I don’t know yet if I need to bring my own Sawdust and newspaper, which are popular combustibles
- Sealant to help keep the colors from fading, after cleaning pieces
- Making an adequate number of pieces is important to me – I don’t want to create too little and waste time at the kiln or my money spent renting the kiln firing. I guess making too much isn’t a bad thing as I could always do another firing!
DIY Making A Raku Kiln – courtesy of The Ceramic School
Great webpage with an overview of Raku: https://www.rakudays.co.uk/tips-for-raku
The 7 Tools You’ll Need You’ll Need for Raku Firing